A roof claim runs: documented inspection → you file → adjuster meets your roofer on the roof → approval letter → first check → build → final invoice releases the depreciation check. You only ever pay your deductible — and in Colorado, a contractor offering to cover it is breaking the law.
Most homeowners go through a roof insurance claim exactly once. The insurance company does it thousands of times a year. This guide is meant to even that out — here’s the whole process, in order, with the parts that trip people up.
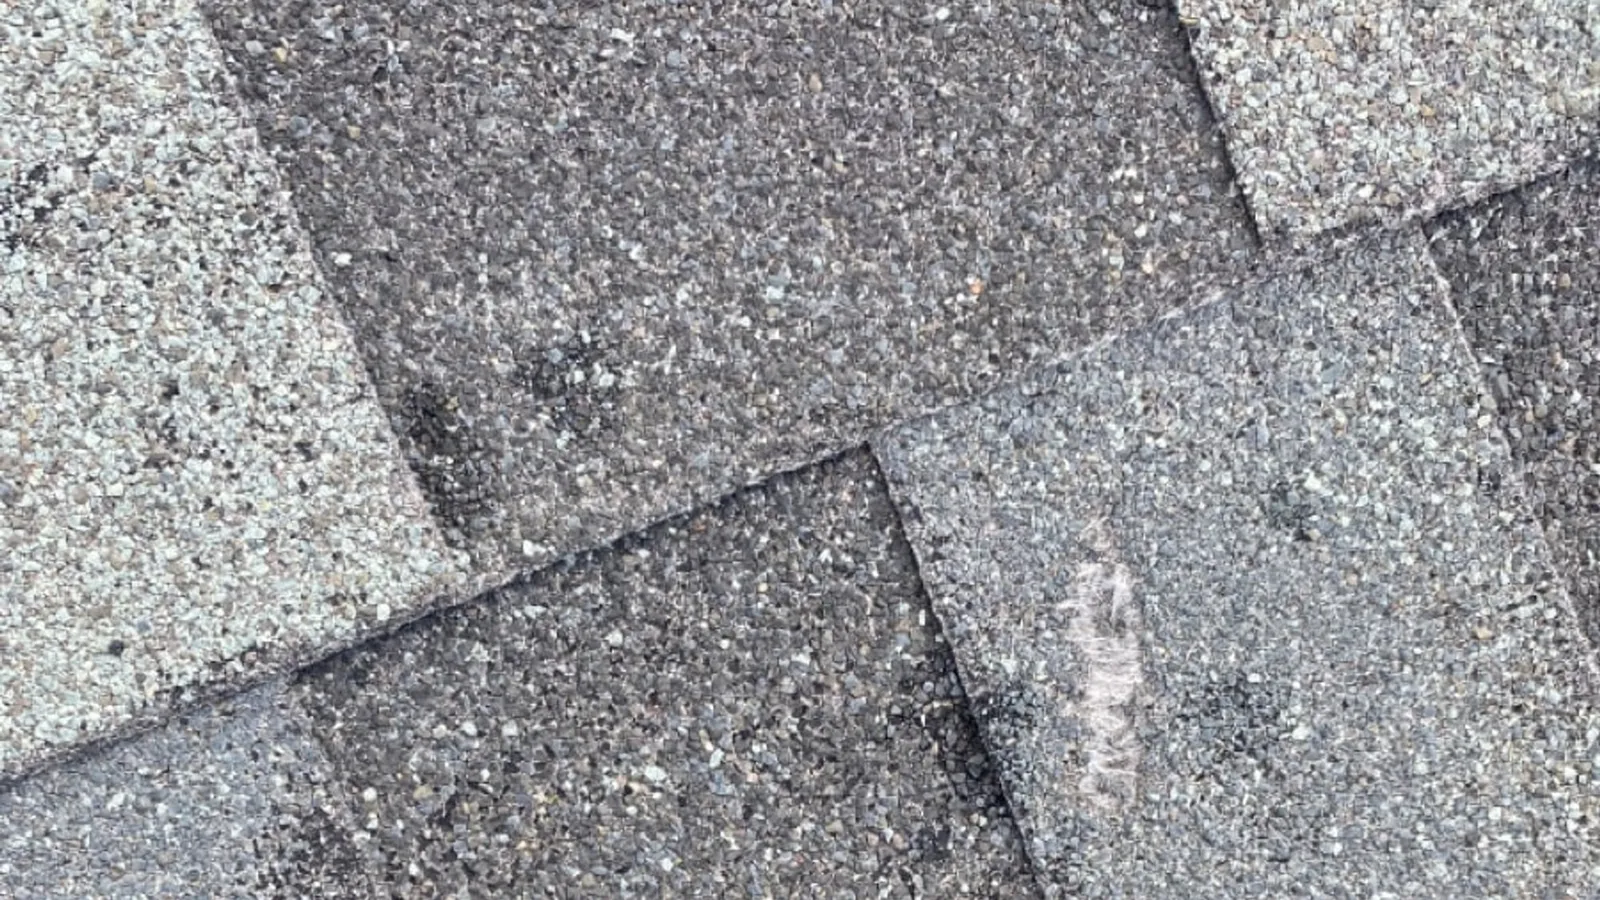
Everything starts with knowing what’s actually on the roof. A proper storm inspection produces dated photos of every slope — hail bruises, wind-lifted shingles, damaged vents and flashing. This documentation is what the entire claim gets built on, which is why we do it free and photograph everything, whether or not a claim follows.
Only the policyholder can open a claim. It’s a phone call or an app submission: when the storm hit, what you’ve observed, and that you have an inspection report. Your insurer assigns a claim number and schedules an adjuster. One important note: filing is not the same as being approved, and a good roofer will never pressure you to file before the inspection says it’s warranted.
The insurance company sends an adjuster to verify the damage in person. This is the single most important appointment in the process — and you want your roofer on the roof with them.
The adjuster is often working through dozens of houses that week; your contractor’s job is to make sure every damaged slope and every accessory gets seen and counted. If nobody’s there to point at the documentation, things get missed.
If the claim is approved, you’ll receive a scope of loss — an itemized list of what the insurer agrees to pay for — and a first check for the actual cash value of the roof (replacement cost minus depreciation for the roof’s age). This check does not have to cover the whole job yet; that’s normal, and it’s the part of the process that confuses the most people.
The roof gets built to the approved scope. For most homes on the Western Slope, tear-off to cleanup is one day. If the crew finds additional damage once the old roof is off — crushed decking, for example — that goes back to the insurer as a supplement, which is routine.
When the job is complete, your contractor sends the final invoice to the insurance company, which releases the recoverable depreciation — the amount held back from the first check. Between the two checks, the insurer pays for the roof; your out-of-pocket cost is your deductible. Only your deductible.
This one term decides how the money works, so it’s worth naming. A replacement cost value (RCV) policy is the two-check structure above: actual cash value first, recoverable depreciation released when the work is done — the insurer ultimately pays what the roof costs to replace. An actual cash value (ACV) policy pays the depreciated amount only, and the depreciation is not recoverable — on an older roof, that gap can be most of the cost of the job. Carriers increasingly move aging roofs onto ACV terms at renewal, sometimes without homeowners noticing. Before you ever need a claim, find the roof line on your declarations page and check which one you have — it’s the single most useful thing in this article to know ahead of time.
In Colorado, it is illegal for a roofing contractor to pay, waive, or rebate your insurance deductible. A contractor who offers is committing insurance fraud and inviting you to join in. It’s also the single most reliable red flag for identifying the companies that follow storms from state to state. More on picking a contractor in our guide to choosing a roofer.
After walking hundreds of these, the delays are predictable. Waiting months to start — memories fade, damage compounds, and the storm date gets fuzzy. Cleaning up too well — homeowners who rake up every shingle fragment before anyone documents them erase useful evidence. Skipping the roofer’s inspection and filing blind, so the adjuster meeting happens with no documentation on your side of the table. Accepting the first scope without review — adjusters are human, and code-required items get missed; that’s what the supplement process exists to correct. None of these are fatal, but every one of them adds weeks. The pattern that goes fast is boring: document early, file promptly, have your roofer at the adjuster meeting, review the scope. One more habit worth stealing from people whose claims go smoothly: keep a simple claim diary — a note on your phone with every call, date, name, and claim number in one place. When a question comes up in month two, the homeowner with the diary answers it in thirty seconds; the one without spends an afternoon on hold reconstructing it. It’s the cheapest insurance-adjacent habit there is, and it starts with the very first phone call.
We handle the documentation, meet the adjuster, build to the approved scope, and send the final invoice — from first inspection to final invoice. You make the phone call to file and pay your deductible. That’s the whole split.
The inspection is free, and we photograph everything we find.